How to Make a Custom 3D Printed T-Shirt
Did you know you can 3D print on fabrics? It requires some precautions, but it’s incredibly easy. Designer Simone Fontana shares an instruction video on how to create a custom 3D printed T-shirt.
YouTuber Simone Fontana has devised a fashionable application for additive manufacturing; directly 3D printing onto fabric. And he’s been kind enough to share a tutorial on how make a 3D printed T-shirt on his channel.
Step #1: Choose a Simple, Bold Design for your 3D Printed T-Shirt
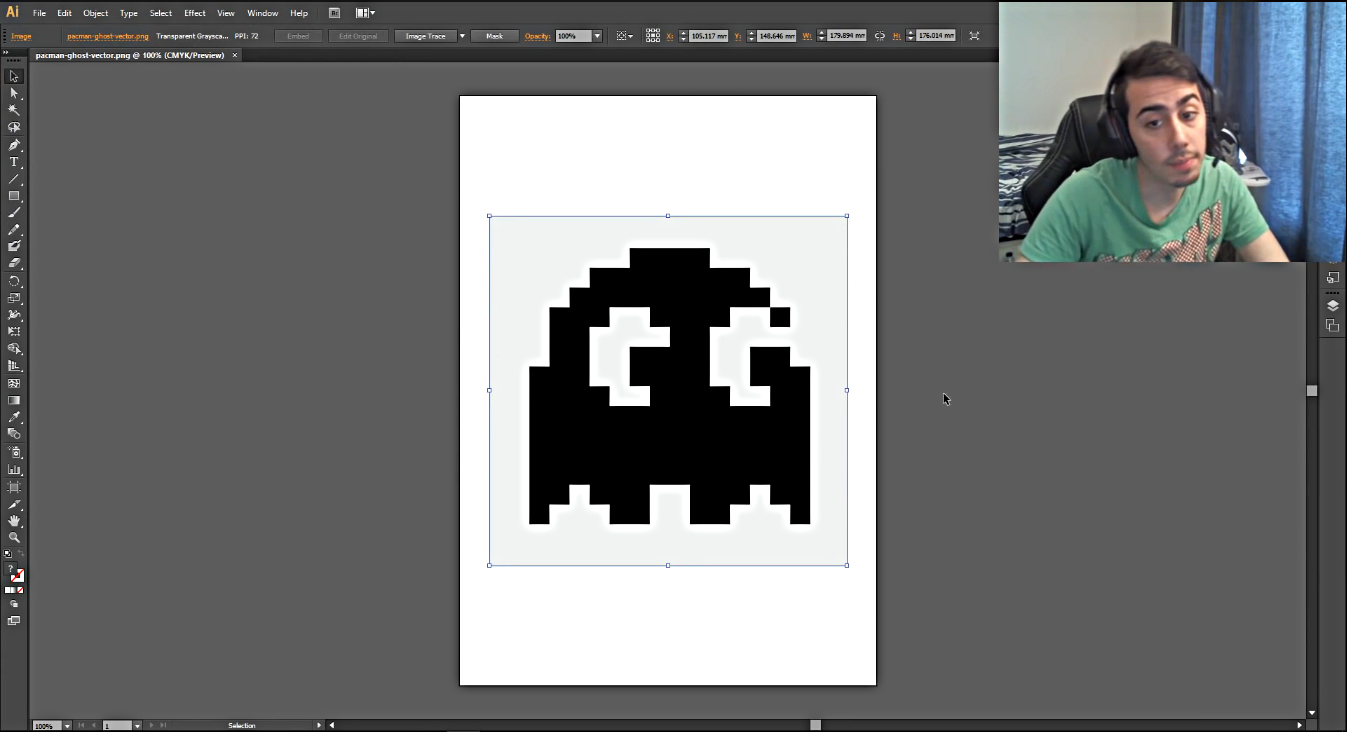
For your 3D printed T-shirt, it’s important to select a simple, bold design. This Pac-Man ghost, for example, is ideal. It’s not too detailed or elaborate, so it should be easy to apply to the fabric. And just to be on the safe side, you can make sure the layers of the 3D printed T-shirt motif are exactly the same.
Fontana exported his 3D design with a height of 0.6 mm, so the result would be a small 3-layer print on his Ultimaker 2+ with a 0.2 mm Nozzle. It’s even possible to add some additional layers.
“I didn’t test it,” says Fontanta, “but my friend Preston Allen uses a similar technique and he had more time to experiment”. Here’s the video he’s referring to.
Step #2: Slice the Model for your 3D Printed T-Shirt
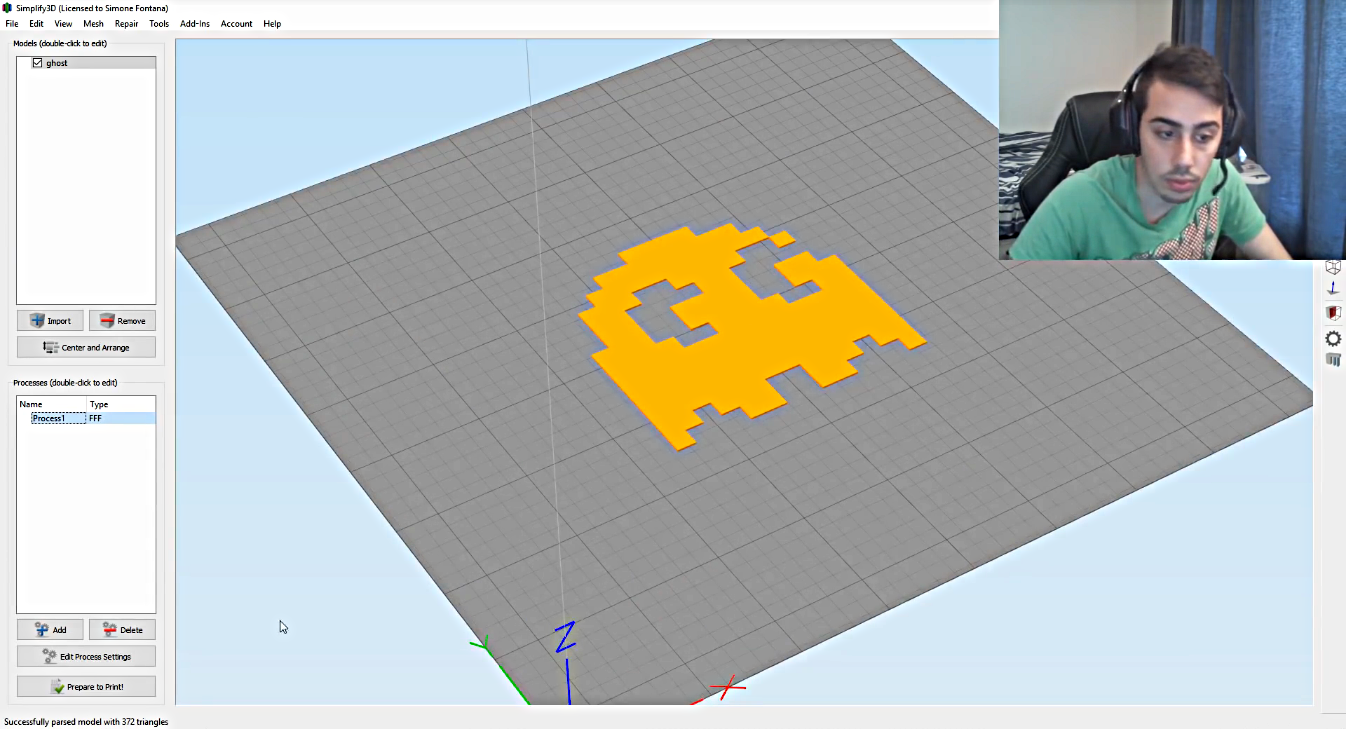
The next step is to import the design into your 3D slicing software of choice. Fontana used Simplify 3D, but you can surely achieve the same in other slicer software such as Cura. Make sure you set the print to 100 percent infill for your first test prints.
Next, it’s time to pick a filament. And be sure to pick the right tools for the job here.
“I suggest you take your time for this experiment. Best do everything right because you can damage your printer or the T-shirt”, Fontana explains. “I used black PLA from FormFutura and worked great.”
If you need more information on which types of filament you can 3D print with, you can refer to our special guide.
Step #3: Align the Fabric on the Build Plate
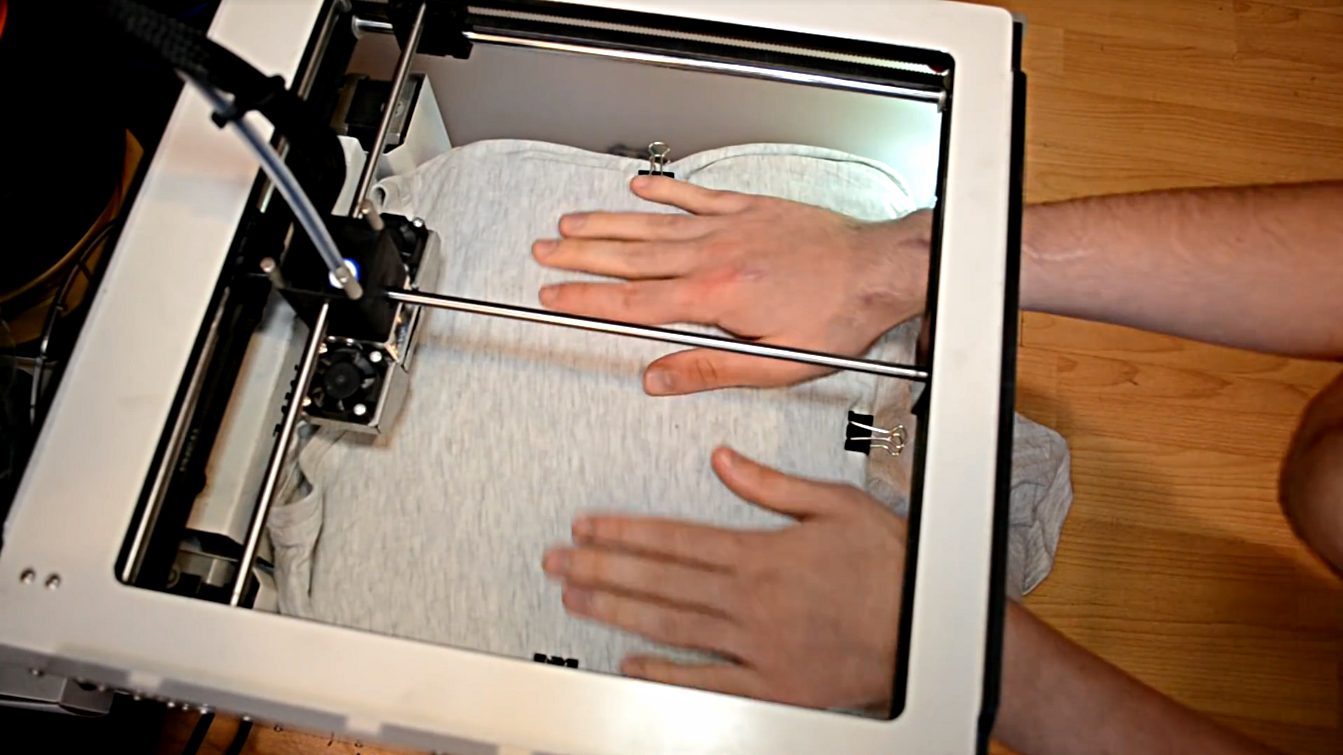
Take your shirt and attach it to the print bed using something like crocodile clips.
It’s very important thing is to have the shirt firmly attached and it does not obstruct the workings of the printer. The goal is to have a perfectly plain and flat area to print on.
“Next, you have to calibrate the printer”, Fontana continues, “and make sure the nozzle is not too close to the T-Shirt or you will burn holes in it!”
Step #4: Make Your 3D Printed T-Shirt
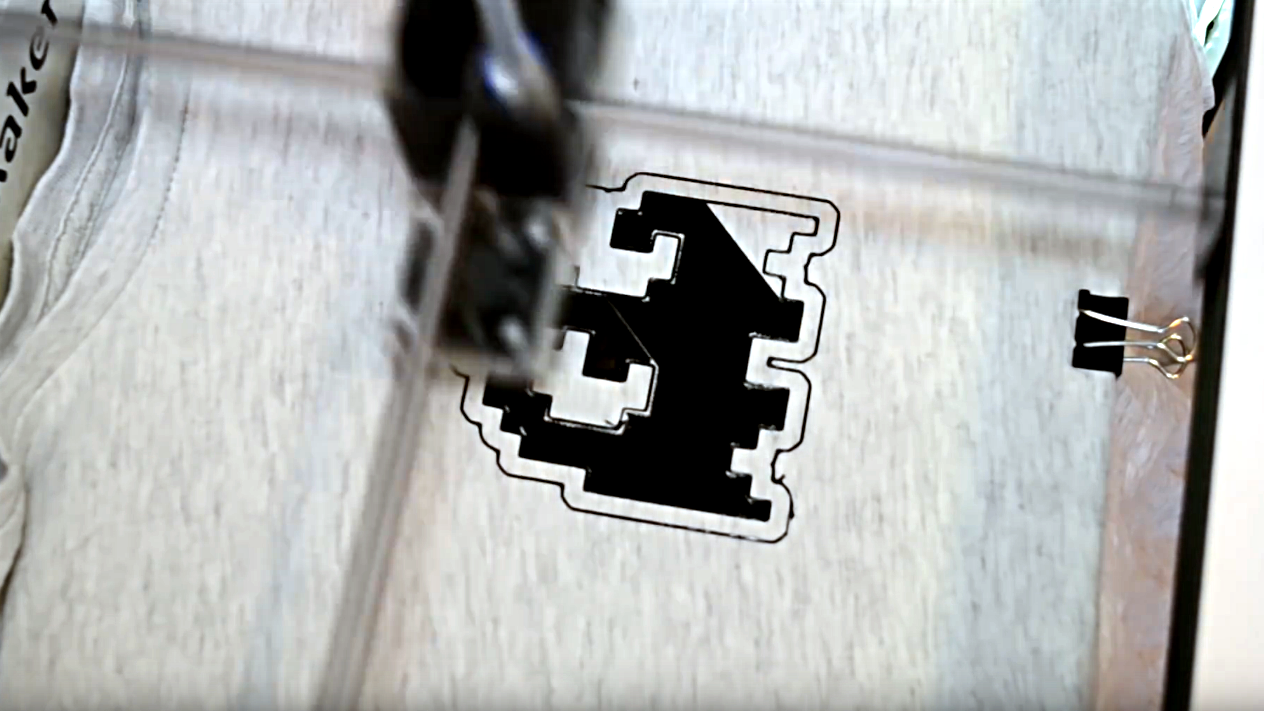
It’s squeaky bum time. Hit that “Print” button and let’s hope you don’t start a fire. In Fortuna’s example, the result was a superfly 3D printed T-shirt.
“The PLA print stayed kind of flexible,” he says, “as the layers of the print were not too thick. If you want something more flexible you can always use flexible filament”.
---------------------------------------------------------------------------------------------------------------------------------------------
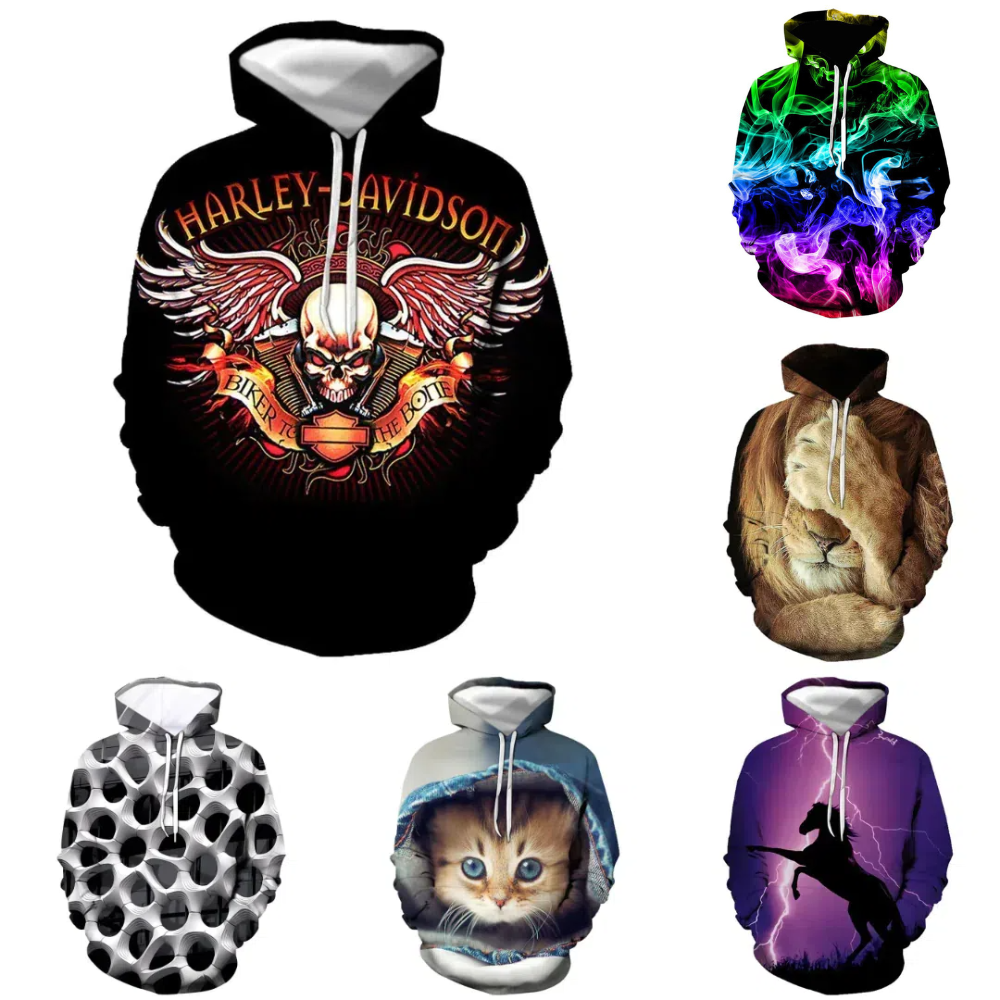
Also, we have finished 3D Printed T-shirt for you here!
Just click the pic and shop now!

